Sorry I've been MIA for the last two weeks! I've been busy and truthfully I haven't felt like writing! I have been under a tremendous amount of stress and pressure with our upcoming move! It is so incredibly stressful that we haven't sold or rented our house yet. Our realtor has truly been amazing- I know she is doing all she can do. We can't make anyone buy it or rent it. I'd appreciate any and all good vibes sent our way to help us get through the next few weeks! With that being said I am shocked that we have made it through 10 weeks already! I swear it feels like Jeremy just left yesterday! I feel like now instead of counting up we can count down so...10 WEEKS LEFT!
Here is a little project I worked on last week for my new casa!
 |
| a drawer is already missing for me! |
 |
| not even a slip of paper would have fit in there! |
If you know me well you know that I have zero patience so of course I wanted a trip to Lowe's that night for my supplies. Well I didn't. Life happened and I got way too busy! I finally made time to work on it this week and am so so happy I did!
A couple weeks after the purchase, my handy-dandy little helper was super excited to finally make a trip to Lowe's! I swear he loves that place!
I spent most of my time at Lowe's at the paint counter. I knew I wanted a cream color but good gosh there are a TON of cream paints to choose from. I ended up choosing a color based on its name- Sweet Almond. (That is also how I pick my horses :o) )
Supplies:
1 quart of Valspar paint; Sweet Almond
1 cabinet paint kit with foam roller and tray
1 drop cloth
2 cans of spray primer
5 'knob' drawer pulls
10 'handle' drawer pulls
I originally spent $92 at Lowe's- I bought 4 cans of spray paint and was able to return 2 so I actually spent about $81. The knobs and handles were the most expensive items. Since I needed 15 total it added up quick. I chose a bronze color which I think adds a nice little pop to the cabinet! The knobs were $2.97 each ($14.95) and the handles were $3.29 each ($32.90). Overall project cost: $121.00!
I painted the drawers first.

I spread them out on my, ahem, drop cloth. (See Jeremy, proof that I used one this time! I have a bad habit of painting anywhere and everywhere without some sort of drop cloth hehe!) Then added a light coat of spray primer. I didn't think that they needed to be heavily and evenly covered since this was only a primer. I did end up spraying them each twice.

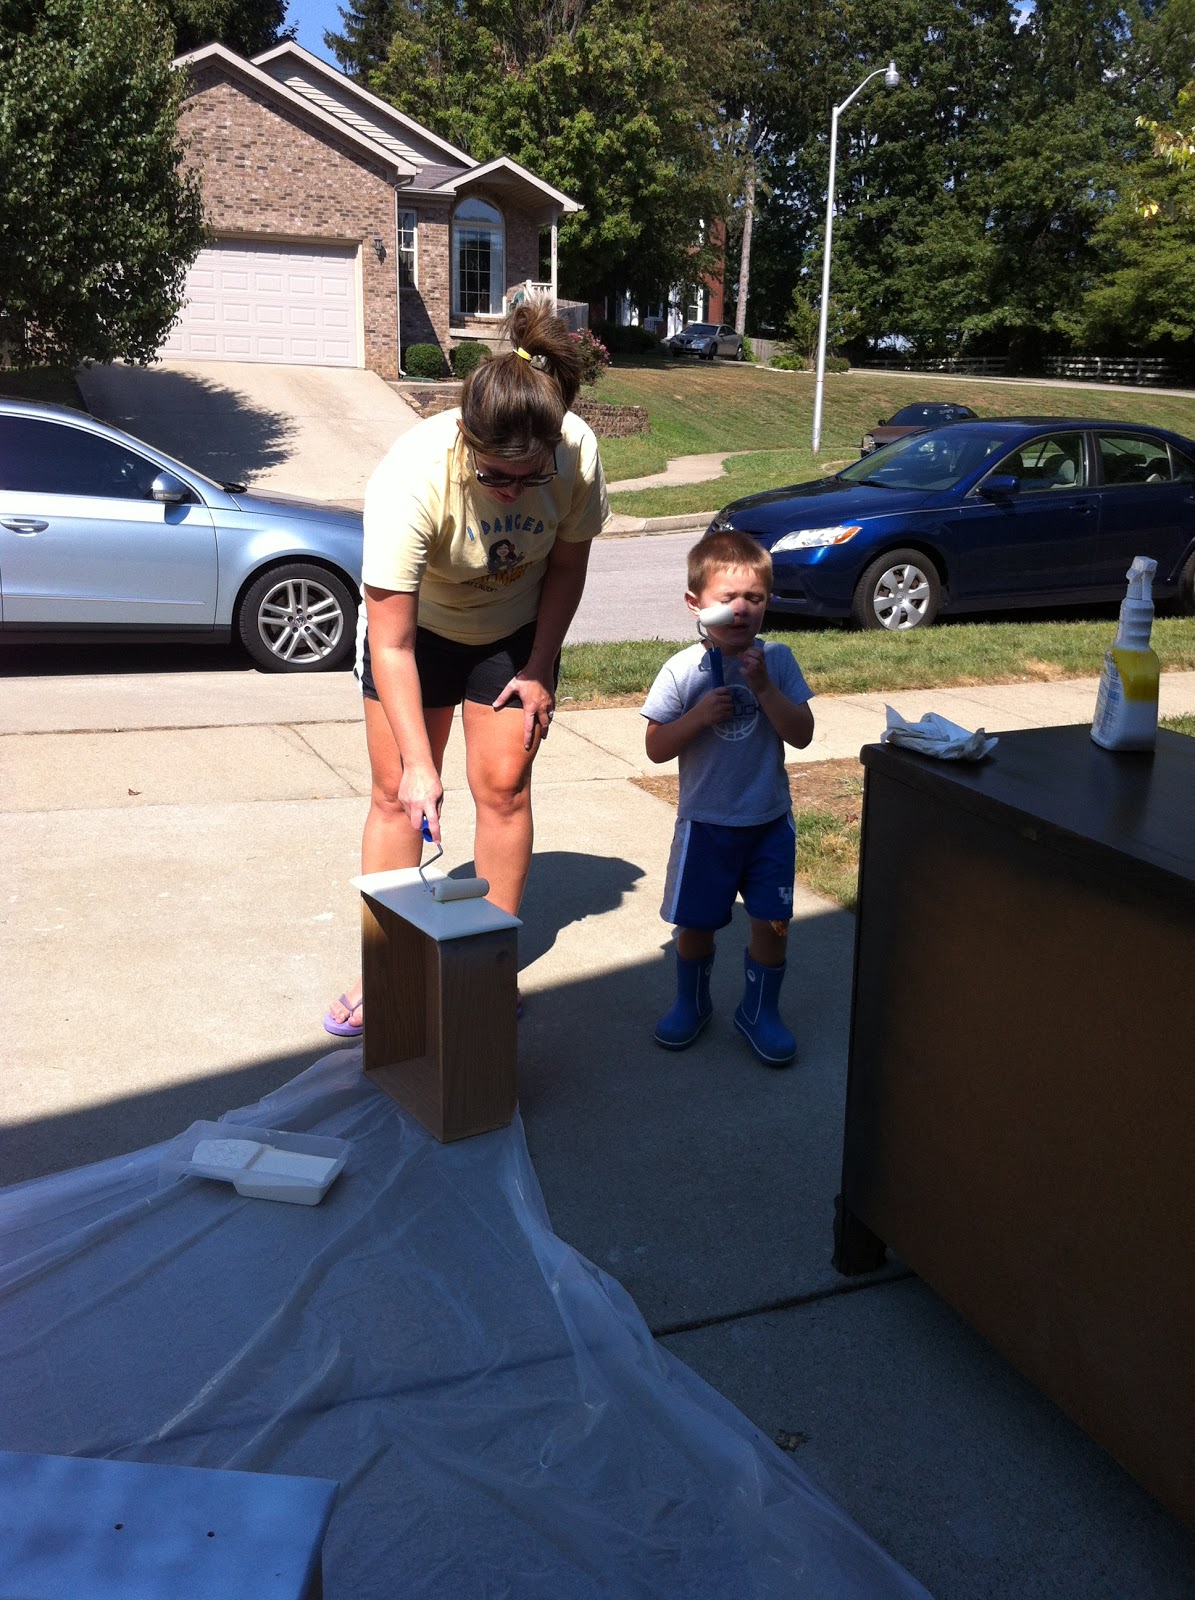
Next I painted each drawer with two coats of the Sweet Almond paint. Shout out to my best friend (and most awesome Mom I know) Amber for taking a pic of Gage and I in action. I honestly couldn't have completed this project without her helping me keep Gage entertained for a few hours- and pointing out all of the spots I missed!
After the paint dried I added the new knobs and handles. I swear this was the most frustrating and difficult part! I used an electric screwdriver to help tighten them into place but the drawers were just awkward to hold alone while trying to balance the new pulls and the screwdriver.

Here is the finished product!


I just LOVE IT!
After I finished it I realized that I should have painted the open space as well but I'm waiting on my father-in-law to build me a small shelf to sit in there for our blu-ray player. This baby is over 5 feet long so I'm hoping our new home will accommodate its massive size! If it won't work in our living room I think it would make a fabulous buffet in a dining room or it can go back into a bedroom! I just feel so proud of myself for doing this without my hubby's help! I wanted it to be finished so I could surprise him with my handy-ness (is that a word?!) and when I text him a pic he loved it just as much as I do! Right now its just sitting it our garage- can't wait to move and use it!
I hope y'all enjoy! Until I blog again... Farewell friends!

No comments:
Post a Comment